A successful Bathroom Faucet Installation Arvada requires proper tools (adjustable wrenches, pliers, screwdrivers), compatible parts (high-pressure cartridges, aerators), and preparation. Prepare the bathroom surface, disconnect water supply lines, disassemble old faucets, and clean the area. Connect water lines securely to new hardware, align the faucet body with the sink, and check for leaks. Perform final adjustments, ensuring proper fastening and alignment, and consult a video guide for troubleshooting.
In the world of home improvement, tackling DIY projects can be both rewarding and cost-effective. One such endeavor is installing a new bathroom faucet—a task that many homeowners in Arvada might find daunting but, with the right guidance, can achieve with confidence. The ability to install a bathroom faucet yourself not only saves on labor costs but also allows for customization according to your aesthetic preferences. This article will provide you with comprehensive, step-by-step tips and insights, ensuring a smooth and successful DIY experience, no matter your skill level.
- Gather Tools and Materials for Bathroom Faucet Installation Arvada
- Prepare the Bathroom Surface: Step-by-Step Guide for Success
- Connect Water Lines: Ensuring a Leak-Free Setup in Your Arvada Home
- Attach the Faucet: A Visual Walkthrough of the Process
- Final Adjustments and Testing: Achieving Perfection in Your DIY Project
Gather Tools and Materials for Bathroom Faucet Installation Arvada
When undertaking a bathroom faucet installation Arvada project, having the right tools and materials is paramount for a successful DIY endeavor. Begin by gathering essential items tailored to your specific faucet model. Consult your faucet manufacturer’s instructions or contact a Commercial Plumber Arvada for guidance on compatible parts. Standard tools include adjustable wrenches, pliers, screwdrivers, and a level. For more complex installations, consider a plumbing snake or a sewage ejector pump Arvada to facilitate drainage issues.
Ensure you have the necessary fixtures, such as supply lines, valves, and adaptors, that align with your faucet’s specifications. Faucet manufacturer’s guarantees often hinge on proper installation, so investing in quality parts is crucial. For instance, consider high-pressure balanced cartridges for precise temperature control, or aerators to enhance water flow while reducing splashing. Precisely measuring and cutting supply lines to the right lengths will save time and prevent leaks.
Additionally, always include a spare set of hands when working with plumbing to ensure faster installation and better precision. If your project seems overwhelming, don’t hesitate to consult a professional. A Commercial Plumber Arvada can provide expert advice and assistance, ensuring your bathroom faucet installation is both functional and durable. Remember, proper preparation and the right tools make for a smooth, stress-free DIY experience.
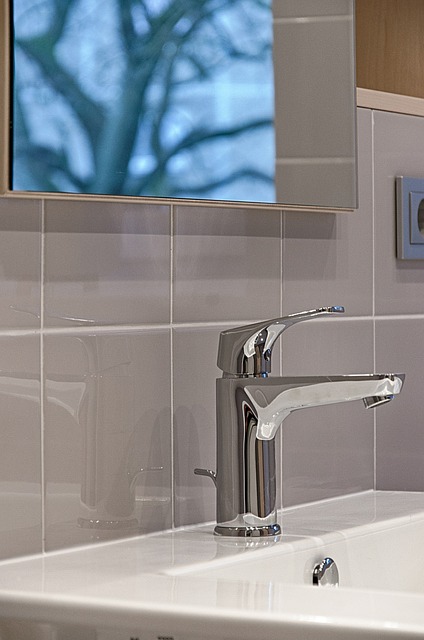
Prepare the Bathroom Surface: Step-by-Step Guide for Success
Before installing a new bathroom faucet yourself, preparing the bathroom surface is a critical step that requires careful attention to detail. This involves assessing and treating the existing counter or sink area to ensure a solid foundation for your new fixture. Start by inspecting the surface for any signs of damage, such as cracks or uneven spots, which could affect the faucet’s alignment and stability. If issues are found, repair or replace the damaged areas using appropriate materials recommended by the manufacturer or a professional contractor.
The next step is to clean the surface thoroughly. Grease, dirt, and old residue can hinder adhesion and cause future problems. Use a mild detergent and a soft cloth or sponge to scrub the area, ensuring it’s free from any contaminants. For stubborn stains, consider using a commercial cleaner designed for bathroom surfaces. Once cleaned, dry the area completely to create a clean, dry surface for installation. This is particularly important when installing a new black bathroom faucet from Lowes, as proper preparation enhances the longevity and performance of your choice in latest bathroom design ideas.
To take apart an existing faucet for replacement, gather the necessary tools, including pliers, a screwdriver, and possibly a wrench, depending on the type of connection. Disassemble the old faucet carefully, noting how each component is connected. This knowledge will be invaluable when reassembling your new faucet. Ensure all parts are accounted for and stored in an organized manner to facilitate the installation process. For example, some faucets may have flexible supply lines that need to be handled with care during disassembly and reattachment.
Remember, proper preparation of the bathroom surface is key to a successful DIY faucet installation project. Following these steps will not only ensure a secure fit for your new black bathroom faucet trends but also contribute to the overall aesthetic appeal of your updated bathroom space, reflecting the latest design ideas.
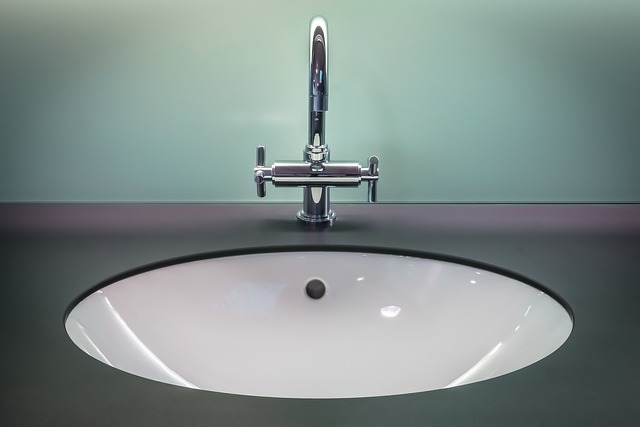
Connect Water Lines: Ensuring a Leak-Free Setup in Your Arvada Home
When installing a bathroom faucet yourself, one of the most critical steps is connecting the water lines for a leak-free setup in your Arvada home. This process requires careful attention to detail and a solid understanding of plumbing fundamentals. Begin by shutting off the water supply valves located under the sink or at the main shut-off valve in your home. Testing these valves beforehand ensures they operate smoothly, preventing any unforeseen issues during installation.
Next, identify the hot and cold water lines connected to your faucet. In Arvada, many homes feature copper pipes, but plastic PEX (cross-linked polyethylene) is also common due to its flexibility and energy efficiency. When connecting these lines, use appropriate fittings and ensure a secure seal to prevent leaks. Consider the type of faucet you’re installing—rustic bathroom faucet options abound, from vintage-inspired designs to modern, sleek styles—and select fitting hardware that complements your choice.
Water-saving faucets offer significant benefits, reducing water consumption by 30% or more while maintaining adequate pressure. These eco-friendly options not only help the environment but also lower utility bills. Local faucet repair services in Arvada can assist with troubleshooting any issues during installation and provide guidance on the latest energy efficient bathroom faucets available. By ensuring a proper connection between your faucet and water lines, you’ll create a durable, leak-free setup that enhances your bathroom’s functionality and aesthetic appeal.
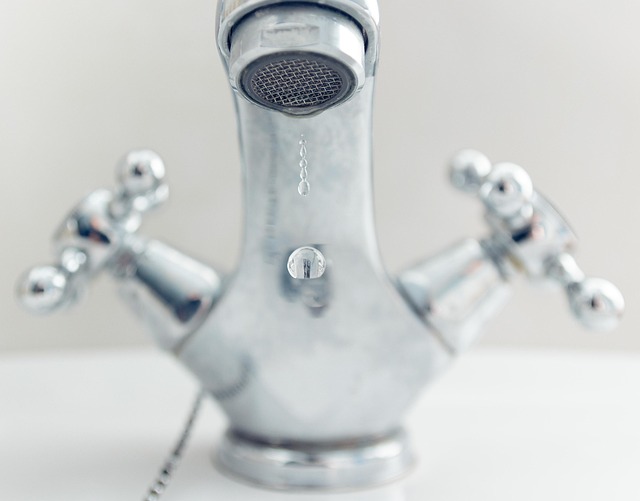
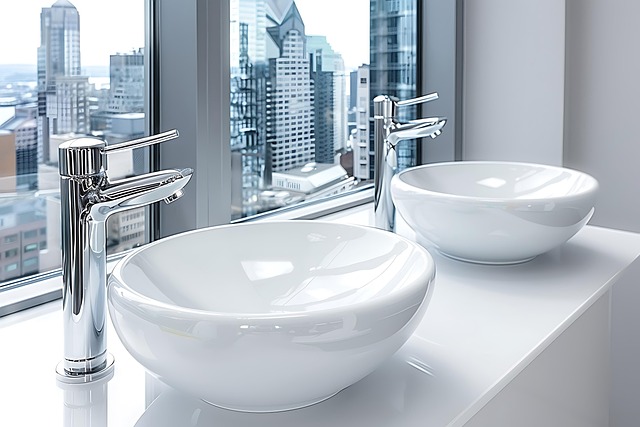
Attach the Faucet: A Visual Walkthrough of the Process

Attaching a bathroom faucet is a common yet intricate task that requires precision and an understanding of the underlying plumbing. This visual walkthrough will guide you through the process of installing your new faucet in Arvada, focusing on the critical step of attachment for a secure fit. Start by preparing the area, ensuring all necessary tools are at hand, including your new faucet, sink, pliers, and any other accessories provided. The first order of business is to disconnect the water supply lines. Identify the hot and cold lines, typically colored differently, and close the respective valves using your wrench or pliers. Once this is done, you can safely proceed with disassembling the old faucet (if applicable) and preparing the sink for the new installation.
The actual attachment process involves threading the faucet’s supply lines onto the water outlets in your sink. Begin by inserting the threaded end of each line into its corresponding outlet, ensuring a tight fit. If any loose connections are noticed, don’t proceed until they’re fixed—a simple tightening with pliers should do the trick, especially for toilet plumbing issues in Arvada. After securing the lines, align the faucet body with the sink and attach it using the provided hardware. This may involve screwing a base plate or mounting ring onto the sink, then attaching the faucet’s base to this fixture. Ensure all components are tightly secured, checking for any leaks at the connections.
Visual aids and detailed instructions specific to your faucet model can be invaluable during installation. Consult the product manual for step-by-step guidance, especially if you’re tackling a commercial plumber project in Arvada or addressing unique toilet plumbing challenges. Remember, proper attachment is key to preventing future leaks and ensuring the longevity of your new bathroom faucet. Regular maintenance, including checking connections periodically, will further contribute to its durability.
Final Adjustments and Testing: Achieving Perfection in Your DIY Project
After completing the installation process, it’s time to make those final adjustments and test your new bathroom faucet in Arvada to ensure everything functions perfectly. This step is crucial as it allows you to fine-tune your DIY project, addressing any minor issues before you finish. Start by turning on the water supply valves for a thorough testing, checking for leaks at the base of the faucet and around the connections. If leaks persist, double-check your fittings, ensuring they’re securely fastened. A common issue is an improperly tightened pop-up drain assembly, so take special care to fasten this component tightly but not excessively.
Visual inspection is another critical aspect. Examine the faucet’s alignment and level—it should be straight and flush with the sink surface. Minor adjustments can often be made by tightening or loosening screws on the base of the faucet. If your new faucet comes with a step-by-step video guide for installation, refer to it now to troubleshoot any issues you encounter during this final tuning phase. For instance, videos often provide valuable insights into addressing challenges unique to specific faucet models.
Lastly, consider incorporating a sump pump in Arvada as part of your bathroom upgrade. This is particularly relevant if your sink has a deep basin or complex drainage system. A sump pump can help manage water levels and prevent overflows during testing and operation, ensuring a smoother DIY experience and a more efficient drain system. Remember, meticulous final adjustments will ensure your new bathroom faucet installation in Arvada is not just functional but also aesthetically pleasing, providing years of satisfaction.
Installing a bathroom faucet yourself is an achievable DIY project with the right guidance. This article has provided a comprehensive roadmap for successful Bathroom Faucet Installation Arvada, covering tools and materials, surface preparation, water line connection, attachment of the faucet, final adjustments, and testing. Key insights include the importance of gathering all necessary components, meticulously preparing the bathroom surface to ensure a secure fit, connecting water lines with care to prevent leaks, and making precise adjustments for optimal performance. With these steps and tips in hand, you’re now equipped to tackle your own faucet installation project in Arvada with confidence and expertise.