
Planning a successful Bathroom Faucet Installation Arvada involves assessing bathroom layout, choosing faucet types (compression, cartridge, ceramic disk) based on durability and maintenance needs, matching aerator sizes for leak-free connections, preparing sink plumbing, removing old faucets, inspecting mounting holes, and verifying thread compatibility. Before installation, repair any leaky valves, measure the sink, and ensure thread compatibility. Install the new faucet, test connections, add decorative elements, and perform final testing to ensure flawless operation. Regular maintenance ensures longevity.
In the realm of home improvement, few tasks carry as much impact as bathroom faucet installation Arvada. A seemingly simple endeavor, it actually demands precision and know-how to ensure water efficiency, leak prevention, and aesthetic harmony. Many homeowners attempt this project only to face challenges that leave them wishing for expert guidance. This article provides an authoritative guide to navigate the process successfully, from choosing the right faucet to ensuring proper installation, empowering you to tackle this transformative task with confidence.
- Planning Your Bathroom Faucet Installation Arvada
- Gathering the Necessary Tools and Materials
- Removing the Old Faucet: Step-by-Step Guide
- Preparing the Sink for the New Faucet
- Installing the Faucet: A Detailed Walkthrough
- Final Touches and Testing Your New Faucet
Planning Your Bathroom Faucet Installation Arvada
When planning your bathroom faucet installation Arvada, a meticulous approach is paramount to ensure a successful and functional outcome. Before diving into the process, homeowners should assess their needs and consider factors that will impact the final selection and installation. One of the key aspects is understanding the layout of your bathroom and ensuring compatibility with existing plumbing. It’s crucial to measure the available space accurately to choose faucets that fit seamlessly without hindering access or causing clutter.
Cardom Plumbing & Heating recommends visualizing the placement of your new bathroom faucet installation Arvada in relation to mirrors, sinks, and other fixtures. This strategic planning prevents last-minute surprises during installation. Moreover, familiarize yourself with the different types of faucet connections—compression, cartridge, or ceramic disk—to make an informed choice based on durability and maintenance requirements. For instance, modern ceramic disk faucets offer excellent longevity and require minimal upkeep.
In addition to practical considerations, embracing contemporary design trends can elevate your bathroom’s aesthetic appeal. The best modern bathroom faucets 2023 offer a range of innovative features, from touchless sensors to advanced temperature control. These additions not only enhance user experience but also contribute to energy efficiency. When selecting your faucet, prioritize brands that combine style and sustainability, ensuring your bathroom stays current and eco-friendly.
Gathering the Necessary Tools and Materials
When embarking on a bathroom faucet installation in Arvada, having the right tools and materials is paramount for a successful DIY project or ensuring a professional result when hiring a plumber. This essential step involves gathering components specific to your sink plumbing and faucet type. One key consideration is the faucet aerator size; standard sizes include 1.5 inches, 2.25 inches, and 3.0 inches, with brass bathroom faucets often utilizing 1.5 or 2.25-inch aerators. It’s crucial to match these precisely to avoid leaks or inadequate flow.
A comprehensive Arvada bathroom faucet replacement guide should include a list of tools such as an adjustable wrench, pliers, and a screwdriver, along with any necessary gaskets, O-rings, or threads for connecting the faucet to the sink. A sink plumbing chart can be invaluable, especially when dealing with different pipe sizes, ensuring compatibility between your chosen faucet and existing infrastructure. For instance, cross-checking your aerator size against a brass bathroom faucets chart will guarantee a leak-free connection. Remember that proper preparation is key; having the right tools and understanding basic Arvada sink plumbing principles can make all the difference in the installation process’s ease and longevity.
Removing the Old Faucet: Step-by-Step Guide
Removing an old faucet is a crucial step in bathroom faucet installation Arvada, setting the stage for a seamless transition to your new selection from the best modern bathroom faucets available. This process requires careful consideration of various factors to ensure a successful and stress-free installation. Begin by turning off the water supply valves located under the sink, a simple yet vital step to prevent any unexpected water gushes during the removal process. Gather all necessary tools, including an adjustable wrench, pliers, and potentially a new faucet’s mounting hardware—especially if you’re changing from an older model.
Next, assess the current setup. Loosen the faucet’s handles and spout carefully, taking note of any unique features or intricate designs that might require specific handling. Use your tools to remove the old faucet entirely, being mindful of any screws or seals that could be easily misplaced. Many faucets are secured with standard hardware, but some extended faucet warranty options may include specialized parts, so it’s crucial to document and set aside each component for proper reuse or recycling.
Once the old faucet is removed, inspect the sink’s mounting holes to determine the best faucet mounting options for your sink’s configuration. This step ensures a perfect fit for your new bathroom faucet, aligning with modern design trends or vintage aesthetics you may prefer. According to recent market data, homeowners often invest in quality faucets that range from $100 to $500, depending on brand and style, with some premium options exceeding this range. When selecting a replacement, consider the additional cost of professional installation, which could range 1-3 times the faucet’s price point, especially for complex models.
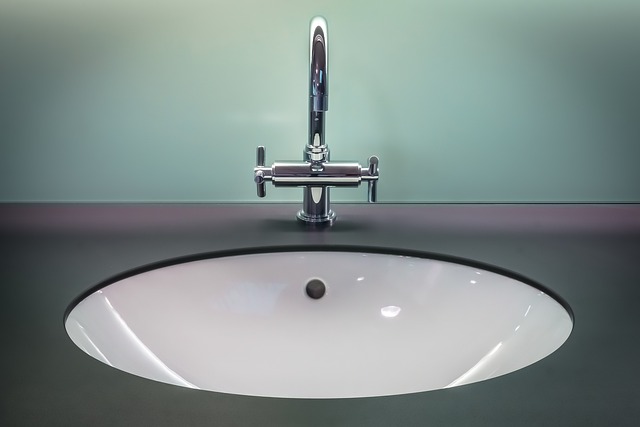
Preparing the Sink for the New Faucet

Before you install a new bathroom faucet in Arvada, preparing the sink for the job is a crucial step that requires careful consideration. This process involves assessing the current plumbing setup, ensuring compatibility with your chosen faucet, and addressing any necessary repairs or replacements. Let’s delve into the specifics of this preparation stage to set the foundation for a successful installation.
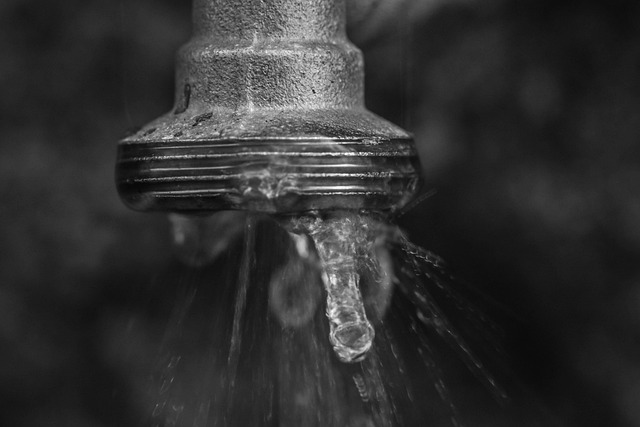
Starting with a thorough inspection, identify the components within your sink, especially the faucet valve. If you’re replacing an old one, check if the valve needs repair or replacement due to leaks. Many bathroom faucet leak repairs involve the valve, so addressing this proactively ensures a smoother installation process. For instance, a common culprit for leaks is an outdated or damaged cartridge, which can be easily replaced by following a detailed guide tailored for Arvada bathtub installation experts.
During preparation, measure the existing sink and compare it with the dimensions of the new faucet to ensure a perfect fit. This step is vital to avoid any misalignments or gaps that could compromise the final look and functionality. Remember, proper fitting ensures water flow remains unobstructed and leak-free, aligning seamlessly with your Arvada bathroom faucet replacement guide recommendations. Additionally, verify that the new faucet’s threads match the sink’s water lines for effortless assembly.
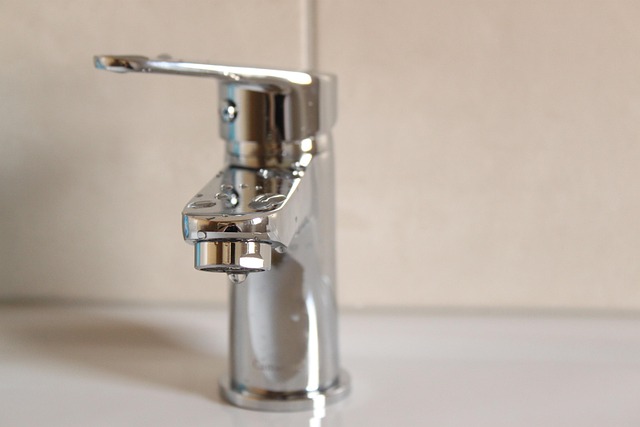
Installing the Faucet: A Detailed Walkthrough
Installing a new bathroom faucet in Arvada is a project many homeowners can tackle successfully with the right guidance. This detailed walkthrough will lead you through the process step by step, ensuring a smooth and efficient experience. Start by gathering all necessary tools and materials—a new bathroom faucet, corresponding accessories, and any required hardware. The key to successful installation lies in preparation and attention to detail.
Before beginning, shut off the water supply valves beneath the sink to prevent leaks during the disassembly process. This is a crucial step, especially if your old faucet has been the source of constant drips, leading to annoying stop bathroom faucet leaks yourself endeavors. Once the water is turned off, you can safely remove the old faucet by unscrewing the supply lines and lifting it out of place. This gives way to examining the mounting holes and ensuring they align with your new faucet’s design. High-efficiency faucets, known for their water-saving capabilities, might require different installation techniques or additional components, so check product reviews and instructions carefully before proceeding.
Next, position the new faucet, ensuring it fits securely within the sink’s opening. Secure it firmly in place using the appropriate hardware provided with your faucet kit. The final step involves reconnecting the water supply lines, tightening them gently but securely to prevent leaks. Test the water flow and temperature controls to ensure everything functions as expected. Consider custom bathroom faucet designs if you seek a unique aesthetic that enhances your space—from elegant gooseneck styles to modern minimalist designs, there are countless options available to cater to various tastes. Regular maintenance and periodic checks can prolong the life of your new faucet, ensuring it remains both functional and aesthetically pleasing for years to come.
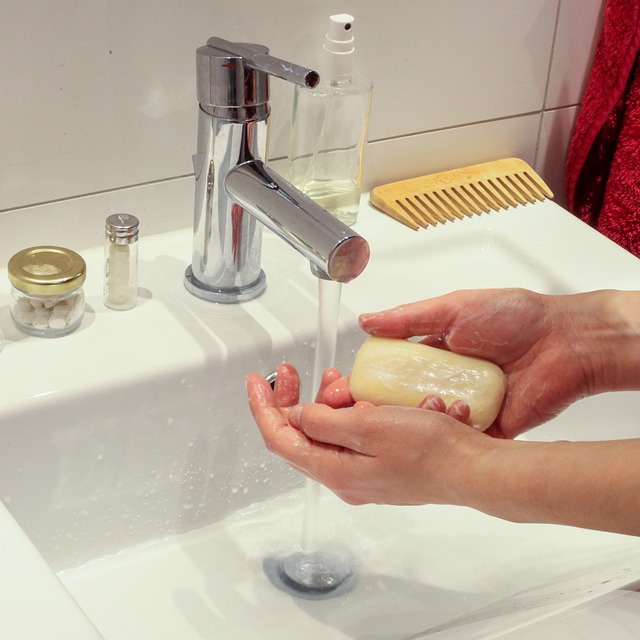
Final Touches and Testing Your New Faucet

Final touches and testing your new faucet are crucial steps in the bathroom faucet installation Arvada process, ensuring a seamless and satisfying experience. Once the base is secure, it’s time to add the finishing components—the handle(s), spout, and often, a decorative escutcheons. These elements not only contribute to the aesthetic appeal but also serve functional purposes. For instance, consider custom bathroom faucet designs that incorporate unique handle styles or intricate spout shapes, enhancing both form and function.
Testing is paramount to guarantee your new faucet operates flawlessly. Begin by checking for any leaks at the base and around connections. Ensure all parts are securely fastened, especially the handle(s) as these often bear significant weight and use throughout the day. If you’ve opted for a garbage disposal installation Arvada alongside your new faucet, double-check its functionality—feed it some food scraps to ensure it operates smoothly and efficiently.
Before turning on the water supply, flush the system with fresh water to clear out any debris or air bubbles trapped within the pipes. Open each tap gradually, observing for any signs of leaks or unusual noises. If everything appears in order, you’re ready to enjoy your newly installed faucet—a testament to your DIY skills or the expertise of a trusted plumber Arvada professional. Regular maintenance and occasional checks will ensure your bathroom faucet installation Arvada remains reliable and efficient for years to come.
After a thorough exploration of bathroom faucet installation Arvada, homeowners now possess a comprehensive toolkit to tackle this project with confidence. Key takeaways include meticulous planning as the cornerstone of successful installation, gathering the right tools and materials, and step-by-step execution from removing the old faucet to testing the new one. By carefully preparing the sink, following detailed instructions for installation, and applying final touches, homeowners can achieve a flawless bathroom upgrade. This article equips readers with practical knowledge, ensuring they are well-prepared to navigate the process seamlessly, ultimately enhancing their home’s aesthetic and functionality.